ORC: Week 6: THE REVEAL

Wednesday, May 11, 2016

CatMax Photography
Okay - finishing this Challenge was AMAZING!

After six weeks of blogging, making quick and fast decisions, my Den makeover is DONE!
CatMax Photography
And, I am pinching myself over the transformation!

CatMax Photography

Remember these sad BEFORE shots?
And now my family has a beautiful room to sit their sweaty bodies on and jump on the sofa with their clay covered cleats!  YEA!
That is why these professional shots are so important to me.
It won't get better any prettier after this!  But it's DONE!
CatMax Photography
 Putting together a room in 6 weeks sounds pretty easy on Day 1 of Week 1.  And, it is actually.  If you know what the plan is and what you're going to order - it should all run smoothly.  Right?
CatMax Photography
 HA!  Not always so!   But, I was very fortunate for this project and didn't have to worry about fabrics not being in stock, deliveries not coming in on time, or workmen not being available.
In fact, all of my workrooms, vendors and photographer were really helpful and obliging.  So, first and foremost I have to thank them for all of their hard work (making me look good) and finishing on or before the deadlines.
CatMax Photography
 What makes this 6 week Challenge challenging is that you have to make firm decisions and then run with it.  You have to handle any type of decisions or problems quickly and efficiently.  Although I had all of my major pieces in the room by last week, the room lacked the finishing touches.  The window treatments weren't up, the pillows, artwork, lamps and accessories were mising.

  ART
I'd previously purchased a large 60" canvas from Wisteria.
I knew a more contemporary piece would help the room "pop", but as it turns out - the artwork that I bought - although pretty - was more of a flop than a pop for the room.  It took a bit of courage, but on Mother's Day, I brought out the acrylics and completely painted over the existing canvas.  While not a masterpiece, the new version brings a fresh vision to the room and brings the color around the space.  Exactly what I was looking for!
END TABLE LAMPS
As it turns out, the painted Tea Canister lamps weren't "all that".  I needed something a bit more sophisticated and young for the room.  I grabbed a pair of these crystal column lamps from my basement and added the Ballard Design green linen shades.  I think their simplicity was needed in the room (I mean, don't forget, we have a pair of those Blackamore lamps across the way with the crazy spotted shades!).

SHEER ROMANS, DRAPERY PANELS & RODS

In truth, the biggest and best transformation to this room was the addition of more light.
Taking down and throwing out my faded (and ugly) mahogany wood blinds (that came with the house) was probably the best day for me.  As that was the day this room saw natural light!  WHOA!
 
But, a difference it made!
Thanks for following along with me for these past six weeks!  It was a blast!
If you'd like me to transform one or all of the rooms in your house - please don't hesitate to contact me.  I work with clients in Atlanta and around the country and would LOVE to transform your
room too.  Call or email me!


Thanks Linda @ Calling It Home for this amazing and fun opportunity!
If you'd like to go back to the beginning and
see how my room transformed, click HERE .
If you'd like to see how the other 200 Guest Participants finished, click HERE.
And, the Featured Designers rooms, click HERE.


ORC: Week Five - Details Make the Difference!

Wednesday, May 4, 2016


You know those little design details that your interior designer keeps suggesting you use in your room?  You know, the "over the top", "silly", "not worth the expense"  design details?  Well, you ought to listen to your designer because those subtle details are the key elements that can turn your room from Hum-Drum to HELLO!
CHAIRS
Thibaut Cheverly Chairs
My chairs arrived!  I LOVE LOVE LOVE them!  The lime green leopard (which may seem a bit garish) is tempered by the chair's classic, English design.  Plus, I was struck by the feminine bamboo legs, button tufts and nailhead trim.  I added a lime green tape underneath the nailhead trim to draw your eye down to those fabulous legs!  Did it work?
DRAPERY
I was so excited to pick up my drapery panels last Friday.  They turned out so well!
I specified details to help make the simple panels look a lot more special.  My workroom created goblet pleats with a "knot" design at each base, and we added a solid lime green contrast fabric trim along the top and leading edges of the panels.
DRAPERY ROD

As I mentioned in my last post HERE, I found all of the elements for my lucite rod/rings and brass bracket through the helpful posts from three other amazing bloggers.  Thanks to them and the abundance of amazing information one can find on the internet, I was successfully and quickly able to order all of the drapery hardware and have it shipped within a week!  UH-MAZING!

END TABLE LAMPS
I'd been dreaming about using these GORGEOUS celadon green slag lamps from Times Two Design.  They were a bit pricier than I wanted to pay.  However, this is how I feel about lamps.  Lamps are the jewelry to the room.  Part of the design details that I was talking about earlier, lamps can really change the feel of a room.  Undaunted by the price, I SO wanted these lamps to work.  However, the celadon green color seemed to dramatically clash with my lime green chairs (and not in a good way).  The lamps didn't seem as "important" as I wanted them to be.  I'm picking at straws, but I also thought that maybe they were a bit too thin for the table....

 Anyhow, after that crushing blow, I had to think quickly about what type of lamp should go there.  Simple.  Dana Gibson's Tea Caddy lamp!  But, I wasn't so sure that her greens would work in my room.  Plus, I was kind of hoping to have a mix of green and blue in the lamp.  So, I called my lighting rep and she found me a pair of these green tea caddy lamps.  The green was fun- but, overall, the design was too serious.  Definitely wanted to lighten up the mood a bit!

Out comes my handy-dandy paint brush!
And, as I posted on Instagram this week.....

 hashtag  #EPIC FAIL!!
But, with some sound advice from a trusted facebook friend, I am now on the right track.  Not finished, but one can is painted white.

If the color works, I found these green lampshades.  Otherwise, white shades to the rescue!

CONSOLE TABLE LAMPS

Look at the adorable SHADES that Kristi from Sassyshades on Etsy created for me!  Made from Caitlin Wilson's navy Spotty fabric, these shades are the exclamation point in my room!  I can't thank Kristi enough for working with me and finishing way before the deadline!  Love her and the shades!!

ACCESSORIES & ARTWORK
I purchased this oversized canvas from Wisteria.  It looks pretty and works "okay" in the room.  But, I don't like it.  It's too representational.  I'd like something a bit more abstract and contemporary with a bit more color.  So, down to the wire - I'm thinking that I'll try and paint over it.  We'll see.  It's one thing to paint lamps, but it's another thing to try and tackle a 60"wide canvas a couple days before I have professional shots taken!  

To see what I did last week, please click HERE.  To see how the other One Room Challenge Guest Participants are up to, click HERE and to see what the Featured Designers are doing, click HERE.

That's it for this week!  
See you at the REVEAL next Thursday!
Tootle-loo!


ORC: Week Four - Coming Together!

Wednesday, April 27, 2016


All of the pieces are slowly coming together, full circle

It's great to see everything in my Den plan slowly coming together!

WALL CONSOLE
Last Thursday morning, I was happy to receive the Spencer console that I ordered from WAYFAIR .  


It came within less than a week after ordering!  I was VERY impressed!
  
And the quality was top knotch.

The glass has a beveled edge!

SOFA
The next morning, I was lucky to receive my new Lee Industries sofa!  
After years of spreading out on a short loveseat, this new, longer sofa will be the hit in my "girlie" mancave I'm creating!
Notice the blue/white banding trim around the bottom of the skirt.  I am pretty passionate about details like that.  The small details are what really transforms a room and makes it truly unique!
I selected this style sofa for several reasons - it had a masculine, tailored look to it, which I felt the room needed.  I also liked the simplicity of the "unfussy" bench-seat cushion and the angular arms.

OPEN ARMCHAIR
And, I was thrilled to pick-up my newly upholstered chair this week!

What a transformation!
Note: the lime green double welt detail

So, all-in-all, things are coming together in my One Room Challenge Den design.  

PAIR OF BENCHES
TO BE PLACED UNDERNEATH WOOD CONSOLE
However, I did have to relinquish one piece of my design.  I very much wanted to order a pair of Hickory Chair faux bamboo benches and upholster them in a blue velvet squares fabric.
 
 I have the fabric, but due to time constraints, I decided to not order the benches.  I was hoping that I'd be able to find something else.  However, I've been thinking about using these benches somewhere in my house (for years!).  I will probably order them and install later on.

DRAPERY HARDWARE
This was a fun and easy selection/decision for me.  Thanks to three FANTABULOUS blog posts that I read and pinned - from Kristen Jackson at The Hunted Interior blog, Grace from A Storied Style blog and Kris from Driven by Decor blog.  Thanks to their help,I was able to affordably order lucite acrylic rods and rings and brass bracket holders for my Den project!  I'm just waiting for all of the pieces to arrive.

via Driven by Decor blog

via Driven by Decor blog

ACCESSORIES
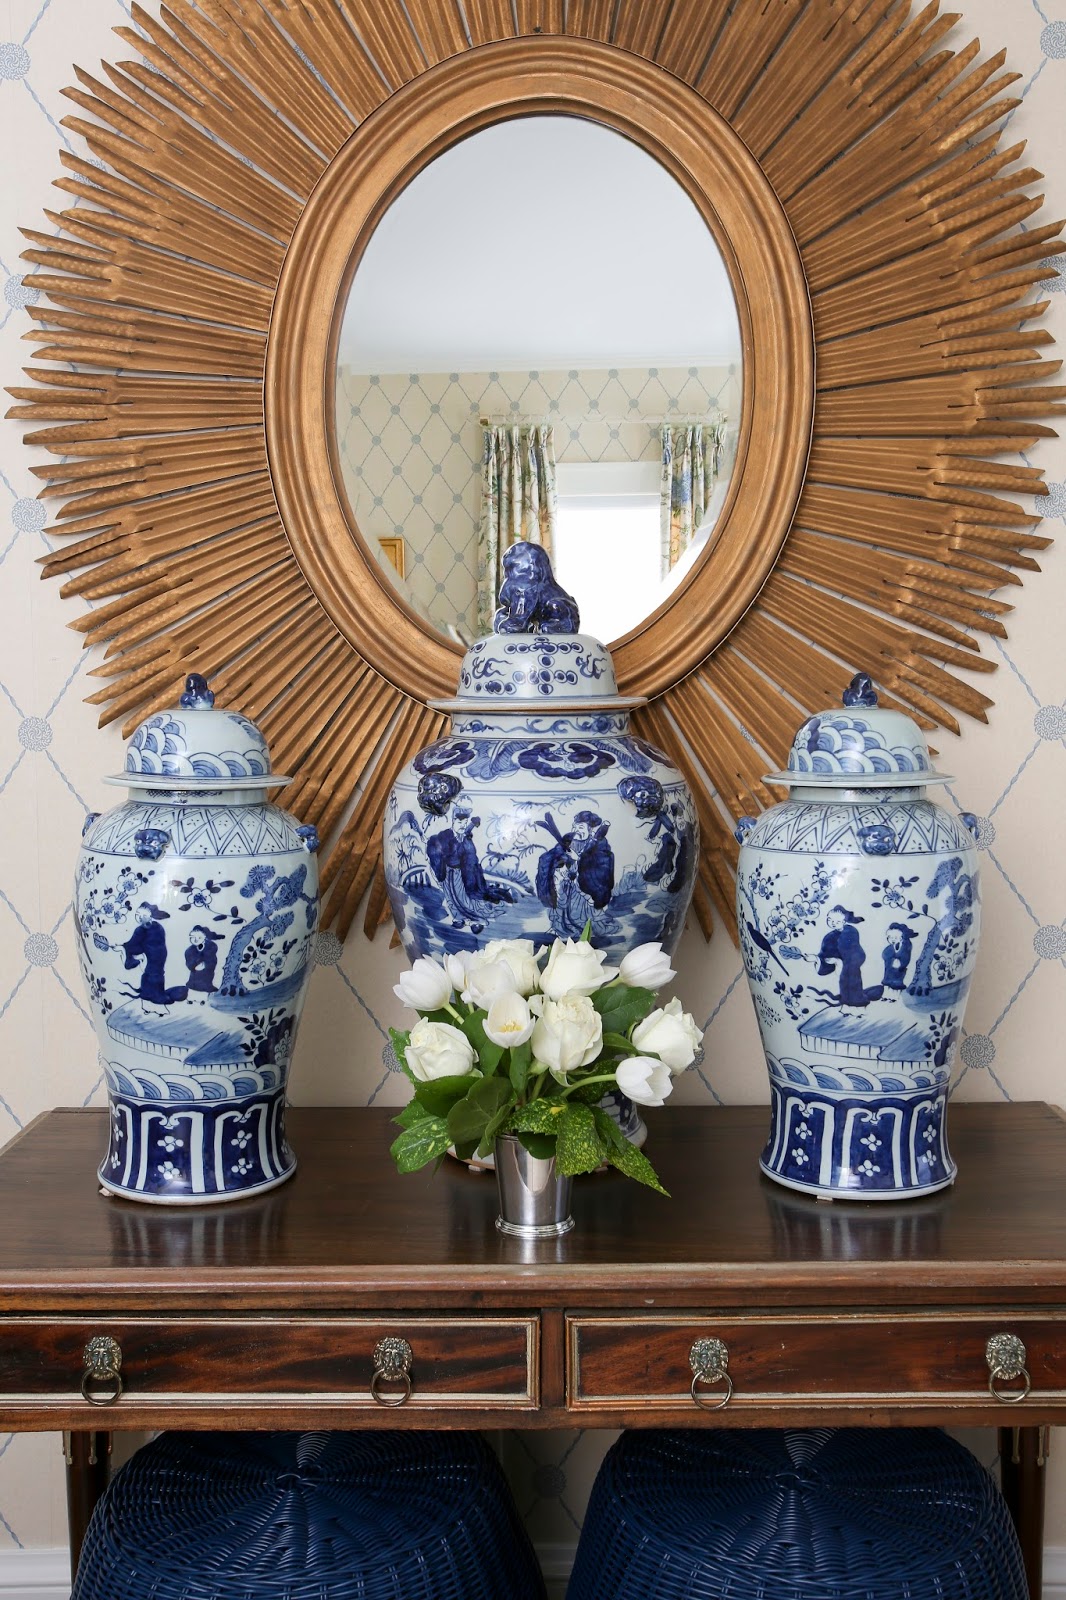
Lastly, I've been mulling over what type of accessories to use in the room.  I find accessories to be the most difficult part of an install.  Mostly because accessories are so personal.  But, because this is MY install and MY room, I think it's even harder!  After trolling around the internet, I think my best accessorizing tool will be to find large blue/white porcelain ginger jars.  I'm cutting it down to the wire, but I'm going to head over to my local resources and see what I can find.  Here's what I'm thinking about - I think the blue will help punch up the room a bit and bring the color around.

 
My TO DO list: What's left?
1.  Blackamoor Lamps - finish painting them

2.  End Table lamps - make a decision - purchase shades

3.  Artwork over Sofa 

4.  Install window sheers - already purchased and received

5.  Finish purchasing and install drapery hardware

6.  Select & Purchase blue/white porcelain accessories for room
7.  Receive & Install chairs
8.  Pick-up and install pillows and drapery treatments
9.  Photograph
10. Final REVEAL!

To see what I did last week, please click HERE.  To see how the other One Room Challenge Guest Participants are up to, click HERE and to see what the Featured Designers are doing, click HERE.
That's it for this week!  Tootle-loo!


ORC: Week Three - FRAZZLED!?&%$@*!

Wednesday, April 20, 2016

I don't know about the rest of you, but I pretty much had a meltdown yesterday regarding my ORC plan.  I came to the realization that we're at the half-way point already and I'll have to ditch at least one (hopefully not more) of my planned items - due to the time contraint!  Good Heavens!!  
WHERE is everything??
Well, I shouldn't complain - I received my newly lacquered coffee table.  It looks shiny and blue with it's new coat of Denim by Sherwin Williams!
And, I was lucky.  Instead of having to order my area rug - I found this one already made up and ready to purchase at Myers Carpet.
So, IN THE CAR it went! - along with a rug pad!
SEE YA SOFA!!   "Hasta La Vista, baby!" (Hello Goodwill)
I dropped off my drapery fabric to my workroom last week.  I liked the look and details of this goblet pleat panel that I found on Pinterest and used this as my inspiration photo.
This is my drapery fabric and I asked my drapery workroom to replicate the knotted detail.
I also sent out my mother's old white Living Room chair to get a much needed Botox injection!  Because I was in a rush to get things done, I completely forgot to take a Before photo of the chair in the room.  The chair has a great shape and is very comfortable.  It just needed a fresh and youthful makeover! Here's the BEFORE of the chair.  You'll have to wait until next week for the AFTER.
        
I'm upholstering it in this vibrant Raoul Textiles fabric and adding a bright pop of Lime Green as a contrast welt.  
And finally, my LAMPS.
After mulling over lamp options, I've decided to use some existing Blackamoor lamps that I own.
To get an idea of space, I moved in a console from another room and added a lamp for size.
But NOT THOSE Blackamoor lamps.  The color is all wrong!  I selected THESE Blackamoor lamps!
                   

I'm a hopeless collector of Blackamoor lamps (long story).  Maybe I'll write a quickie blog post about it this week.  Anyhoo!  Although these pups may look decent enough in these photos - the paint was chipped everywhere and the "white" was extremely dingy.  So, I grabbed my paint brushes this week and started their makeover!  They're still a "work-in-progess" - but here's what they look like so far (don't judge)...
And, what's going to make them UBER-FABULOUS is their topper!  
Now THIS custom shade will certainly bring a bit of the WOW factor to my room!  
You can find this shade and other equally stunning and fun shades at Kristi Uvence's 
ETSY Store - SassyShades.
That's it for this week!  If you'd like to see more rooms, please click HERE to see the ORC Featured Designers.  

Here's what I did Week 1 and Week 2!
Tootle-loo!